Showing posts with label Favors. Show all posts

Sunday, June 12, 2011

Bridal Shower Card

***Click HERE for Birthday Sundaes #13 Card***
Yesterday was the shower that I spent all last week making favors for.  I can now share that the theme for the bridal shower was a Princess theme.  The bride-to-be is a huge Disney Princess fan.  Those little princess crown bags I posted last week were the favors.  I was happy that everyone assumed they were for one of my kiddos parties because I was worried the bride-to-be would see them on my blog and figure out the theme but she did not!  They were filled with chocolate covered pretzels...mmmmm!  Here is the card I made for the bride-to-be!
I used the same crown from the favors to make the card (Click HERE for favors).   I'm entering this card into the Paper Cutz Challenge #95 which is any project using Pink, Black and White only.

I love these colors together!  I used Pink Bubblegum Crinkle Ribbon from My Craft Spot and I think it goes great with the crown!  

Also, here are the prizes that the maid of honor and I made Friday night.  This purse design is from a tutorial created by Becky Roberts at Inking Idaho!  Everyone at the shower loved both the favors and prizes! 

Just a heads up...I think I may take the week off from blogging.  I didn't realize seeing all the Father's Day challenges and cards would bother me so much but they do.  I have a few Design Team projects scheduled to post but beside that, it may be quite here and I will not be visiting everyone like I usually do.  I'll be back to it next week once Father's Day has passed!  I still haven't made it to everyone who visited during the blog hop last week but I am working on it.  If I haven't stopped by your blog yet, I promise I'll get there!  Have a great week everyone and thanks for stopping by!

Thursday, June 9, 2011

Princess Favors

Hello Everyone!  It seems like I no sooner get done crafting for one party or shower that I start right into another!  This week I am working on Princess favors for a friend then tomorrow I have some shower prizes that I will be working on.  I wanted to show you what I am making for the princess favors and a little tutorial on how I am making them.
These are very similar to the rainbow butterfly ones I made a few months ago (Click HERE to see).

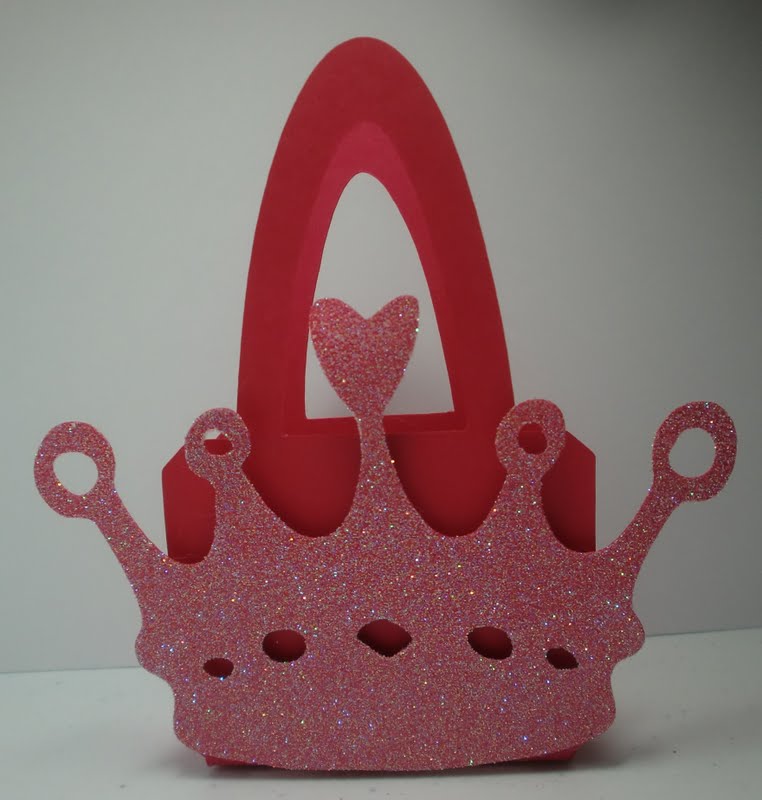
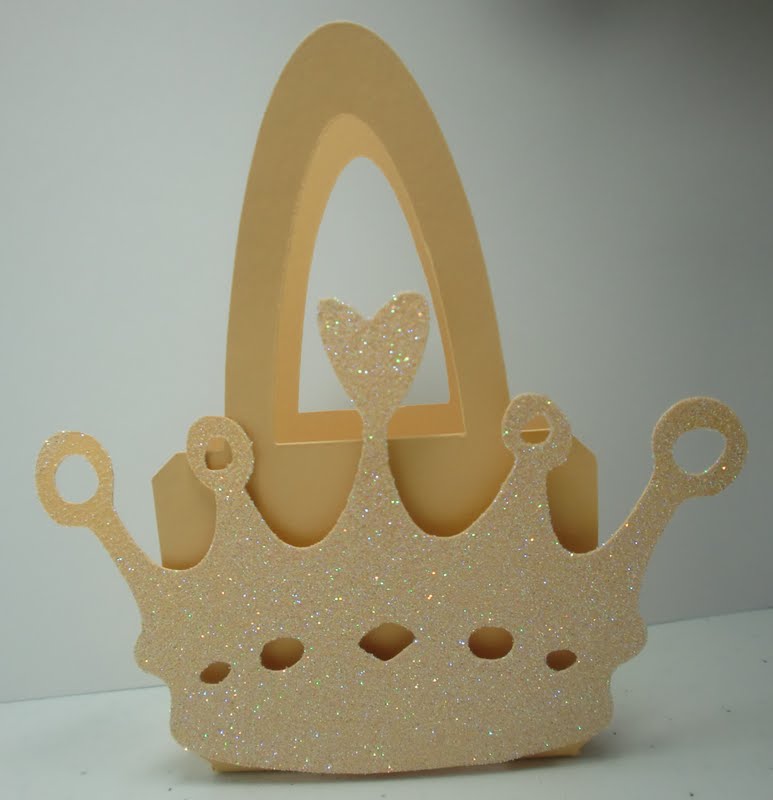
The Bag is from Once Upon A Princess and the Crown is from Gypsy Wanderings.  I used my dimensionals to pop the crowns off the bags.  Here is how they are made.

This is set up so I can cut the bag and crown all from one sheet of 8.5x11.  I didn't like how the bag sides were the last time, so I used my Gypsy to weld tabs onto the sides (See where blue arrow is).  I also hid some of the features on the crown.

After cutting them all out, I cut the tab off the top and I used my Martha Stewart Score Board to score the fold lines.

I use Glue Lines on all of my bags and boxes.  I like the strong hold I get from them.  See how nicely those tabs worked!  I'm glad I added them because it made the set up of these bags so much easier.  You just bring the sides up and adhere them to the inside of the bag base.

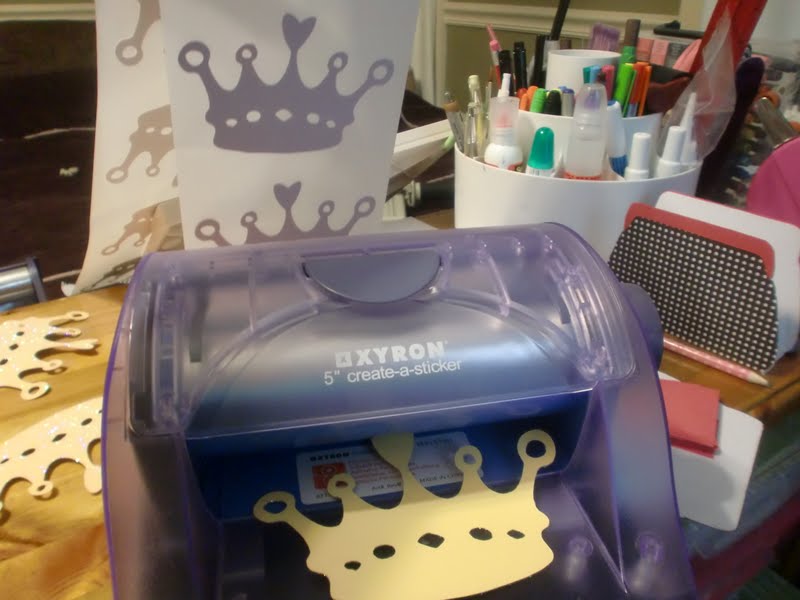
Once my bags are together, I run all the crowns through my Xyron create-a-sticker.

With the sticker maker, you get an even coat of glue without the wetness.  Some adhesives can make your paper curl when you are coating the entire surface.

Then comes the glitter.  I store all of my glitter in these little plastic containers with a plastic spoon that way I can glitter, store and contain the mess all in one.  They take up a little more room than the little tubes the glitter comes in, but it is so much easier than using a tray then trying to get all the glitter back into the tubes! 

This is the first batch of 30.  Don't the colors look great together!  I need to make another batch of 20 today.


Products Used:
  • Stampin' Up!
    • Melon Mambo Cardstock
    • So Saffron Cardstock
    • Pale Plum Cardstock
    • Dazzling Diamonds Glitter
  • Cricut E2 and Gypsy
    • Once Upon a Princess Cartridge
    • Gypsy Wanderings Cartridge
  • Adhesives
    • Xyron Create-a-Sticker
    • Glue Dots brand Glue Lines
    • Dimensionals
These are a quick and fun favor bag that you can stuff any little treat into to make a favor fit for any Princess.  I hope you all like them or find a tip you can use in your crafting!  Thanks for stopping by today!

Sunday, April 24, 2011

Birthday Sundaes Challenge #6- Special Challenge

Happy Easter everyone!  I hope you all have family and/or friends to share this Easter Sunday with!  We are having a Special Challenge this week at Birthday Sundaes!  The Design Team has created some special projects to inspire you!  No Birthday cards this week!  The Challenge is to create birthday gift packaging, party favors, invitations, cupcake toppers/wrappers, banners, treat boxes, etc.   My Oldest E(her birthday is not until next Feb..hehe) requested a Rainbow Butterfly Party so here is what I came up with for my Special Birthday creation!
Everything was created using the Once Upon A Princess Cart. 
This treat bag is made by taking the bag image and welding the butterfly to it with the Gypsy. 
The invitation was made by again using the Gypsy to weld two shadows of the butterfly. 
I hand cut the tag and stamped it with a Stampin' Up! sentiment. 
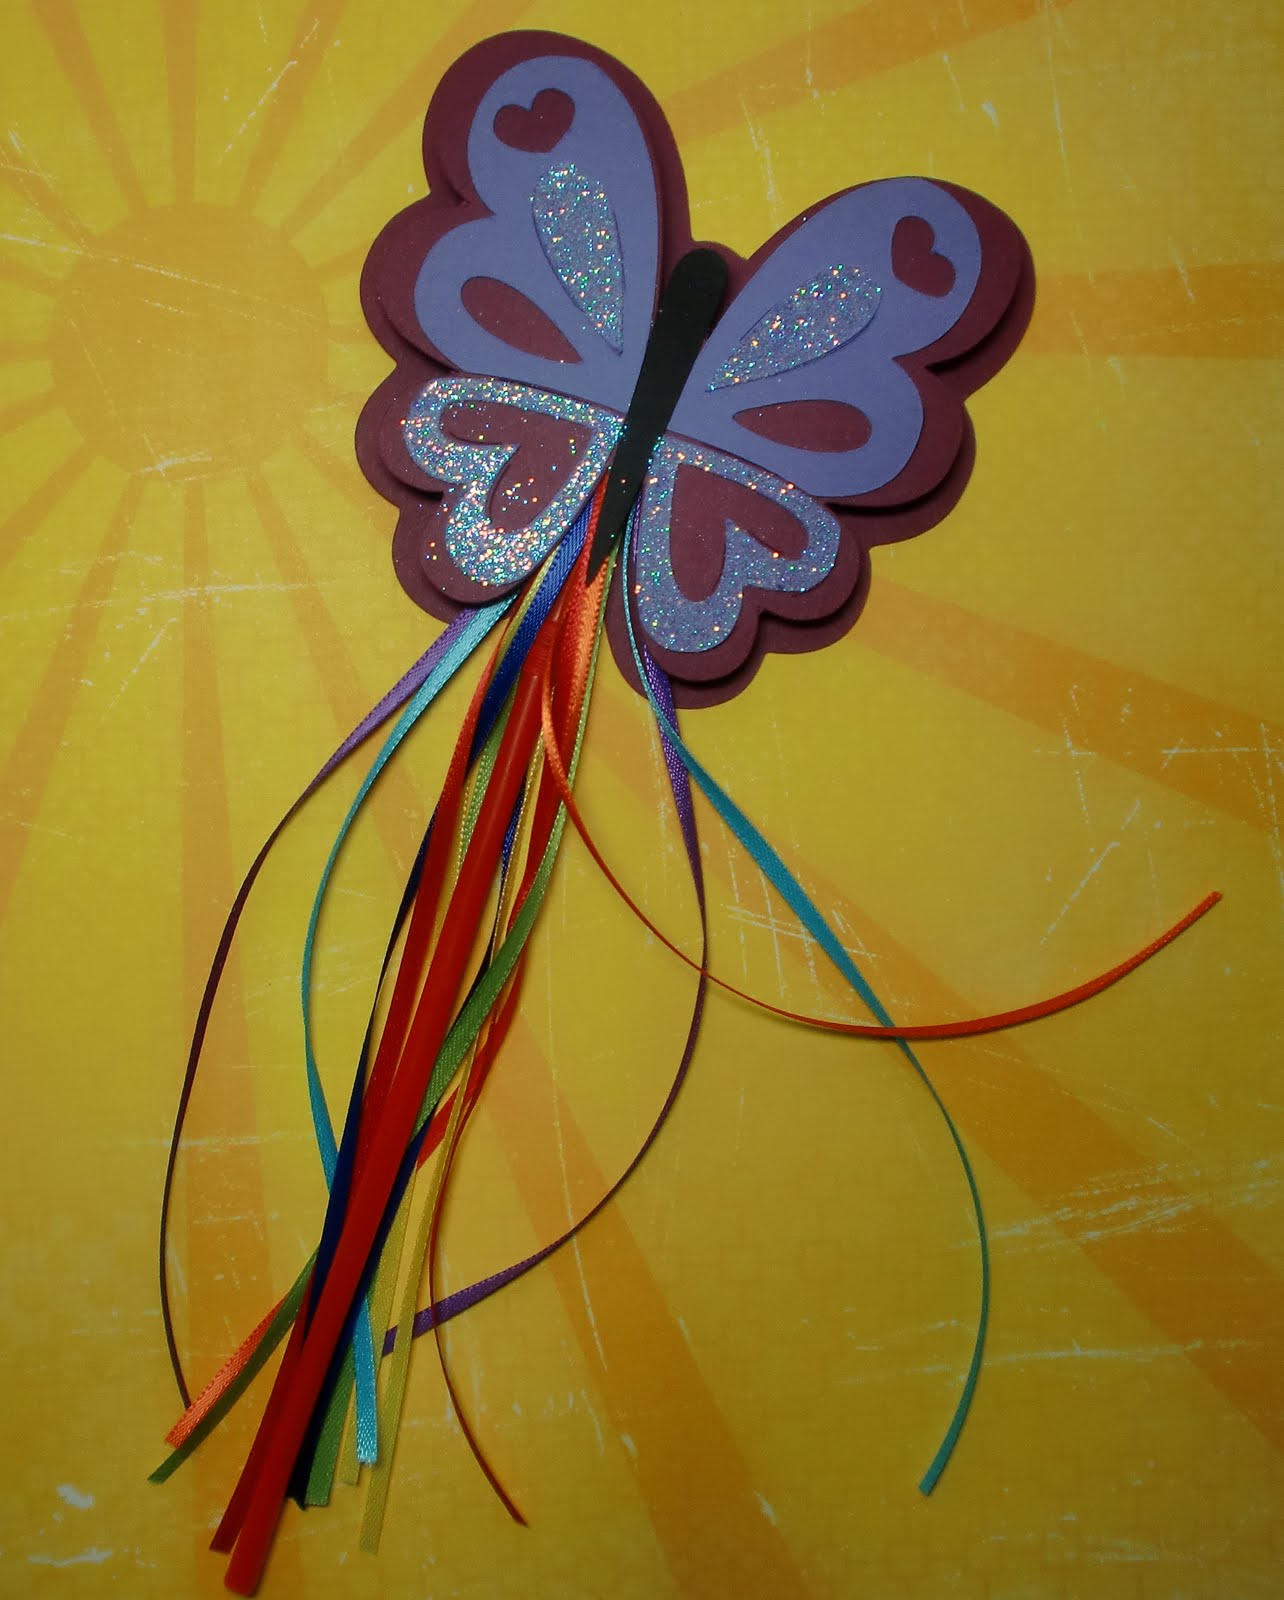
These were my most favorite creation!  I made them with fun colored bendy straws!  To re-enforce them, I bent a second straw and slid it up through the center!  It was all I hand on hand and so far they seem to be holding up!  The girls love them! 
I added a rainbow ribbon tail to each Butterfly Wand and the girls couldn't be more thrilled with how they turned out!  Now lets see how many times between now and next Feb my oldest changes her mind for her Birthday Theme!
We had so many wonderful entries last week for the Anything Goes Challenge!  I hope to see your crafty creations again this week for our Special Challenge at Birthday Sundaes!  Make sure you check out the rest of the awesome DT creations!  Thanks for stopping by!  Have a very blessed Easter!

Wednesday, April 6, 2011

Inking it Up Crazy Birthday Week

Goodmorning my crafty friends!  I was so, so excited when my very talented friend Kassidy invited me to join her and her friends as a Guest Designer for Birthday Week at Inking it Up Crazy!  She is celebrating all week long with inspiration for everything birthday related!  Come check out all the creative projects all this week!

  I was asked to create a Birthday Favor for Birthday Week!  I had summer swimming parties on my mind so I created a personalized sand bucket/beach towel favor!
 My middle E is lucky enough to have a summer birthday and after attending her BFFs Pink Flamingo Party last month, she put in her request for a Pink Flamingo Birthday Party!  I am so excited I get to re-create all the fun (not to mention the cute LO I made for her friend, SEE HERE
I love how easy and fun it is to work with vinyl!  I order mine from Expression Vinyl and for this project I use the outdoor vinyl (because the buckets are going to be spending a lot of time in water).  When cutting vinyl, you need to have your Cricut set at Speed 3, Pressure 3, and your Blade set at 3.  You want to cut the vinyl and not the backing. 
 Set up your vinyl on a very tacky mat and start cutting.  After cutting, I trim away the un-cut areas of vinyl so I can use it again. 
Peel off the portion of vinyl that is not part of your cut image making sure you get all those holes and slivers.  Use your choice of transfer paper to pick up the individual cuts and carefully layer them.
 Then apply them evenly to the bucket.
 I turn off the Paper Saver for my lettering because then you can easily pick up the names in one, even shot and apply them!
Of course, I am never happy with what I make so I had to move my letters around several times. 
 Add a Thank You Tag, fill your bucket and you've got yourself a cute Birthday Favor!
Products Used:
  • Bucket from Michael's
  • Towel from Target
  • Vinyl from Expression Vinyl
  • Life is a Beach Cricut Cartridge
  • Tags, Bags, Boxes & More Cricut Cartridge
  • Stampin' Up! CS, Ribbon and Family Phrases Stamp Set
Thanks for stopping by!  Please join us at Inking it Up Crazy for a fun Birthday week! Kassidy has a whole team of awesome Designers lined up to share their Birthday creations!  Thanks Kassidy!